Setup Parse and Parse Dashboard
In order to test my package, I am usually using a local Parse Server & Parse Dashboard build on top of Docker. Lets see if we can settle up this testing environment together. I assume that you already installed and worked with Docker before, since this article will not cover Docker explicitly. If you will need further information about Docker and what it will do, refer to the official documentation: https://docs.docker.com/.

Lets begin with a quick peak into the source code, of the Docker image we are going to use: https://github.com/yongjhih/docker-parse-server.
Hint
The following code examples sometimes may contain placeholders, which will needed to replaced with your own information. These placeholders will be wrapped within [[...]], to indicate that these values need to be replaced.
Step-01: Download Source
Lets begin to download the source from the repository:
https://github.com/yongjhih/docker-parse-server/archive/master.zip
Extract anything into a directory where Docker’s file sharing has been enabled and where it doesn’t disturb. I do not recommend to install the image into your project directly, one installation should be enough - anyhow you can do that.
Step-02: Update Parse Server Dependency
If you follow the instructions given by the package you may run into a “server version too low” error. To deal with that problem I recommend to update the version of parse-server to its latest version. You can do that within the package.json file, from the downloaded resources:
"dependencies": {
  "docker-links": "^1.0.2",
  "express": "~4.14.x",
  "express-graphql": "^0.6.1",
  "graphql": "^0.8.2",
  "kerberos": "~0.0.x",
  "mongodb": "2.2.10",
  "nodemon": "^1.11.0",
  "parse": "~1.9.2",
  "parse-server": "2.6.5",
  "parse-server-azure-storage": "^1.1.0"
},
Step-03: Run MongoDB
Now you can begin to execute the MongoDB using your terminal:
docker run -d -p 27017:27017 --name mongo mongo
Step-04: Run Parse Server
Next lets start a Parse Server and link it with the MongoDB, using the terminal again:
docker run -d                                      \
          -e APP_ID="[[your_app_id]]"              \
          -e MASTER_KEY="[[your_master_key]]"      \
          -p 1337:1337                             \
          --link mongo                             \
          --name parse-server                      \
          yongjhih/parse-server
Step-05: Run Parse Server Git
Run and link Parse Server with Git, using the following command:
docker run -d                                \
           -p 2022:22                        \
           --volumes-from parse-server       \
           --name parse-cloud-code-git       \
           yongjhih/parse-server:git
Step-06: Run Parse Dashboard
Use the following command to run the Parse Dashboard:
docker run -d \
        -e PARSE_DASHBOARD_CONFIG='{"apps":[{"appId":"[[your_app_id]]","serverURL":"http://localhost:1337/parse","masterKey":"[[your_master_key]]","appName":"[[your_app_name]]"}],"users":[{"user":"[[your_user]]","pass":"[[your_pass]]"}]}' \
        -e PARSE_DASHBOARD_ALLOW_INSECURE_HTTP=1   \
        -p 4040:4040                               \
        --link parse-server                        \
        --name parse-dashboard                     \
        yongjhih/parse-dashboard
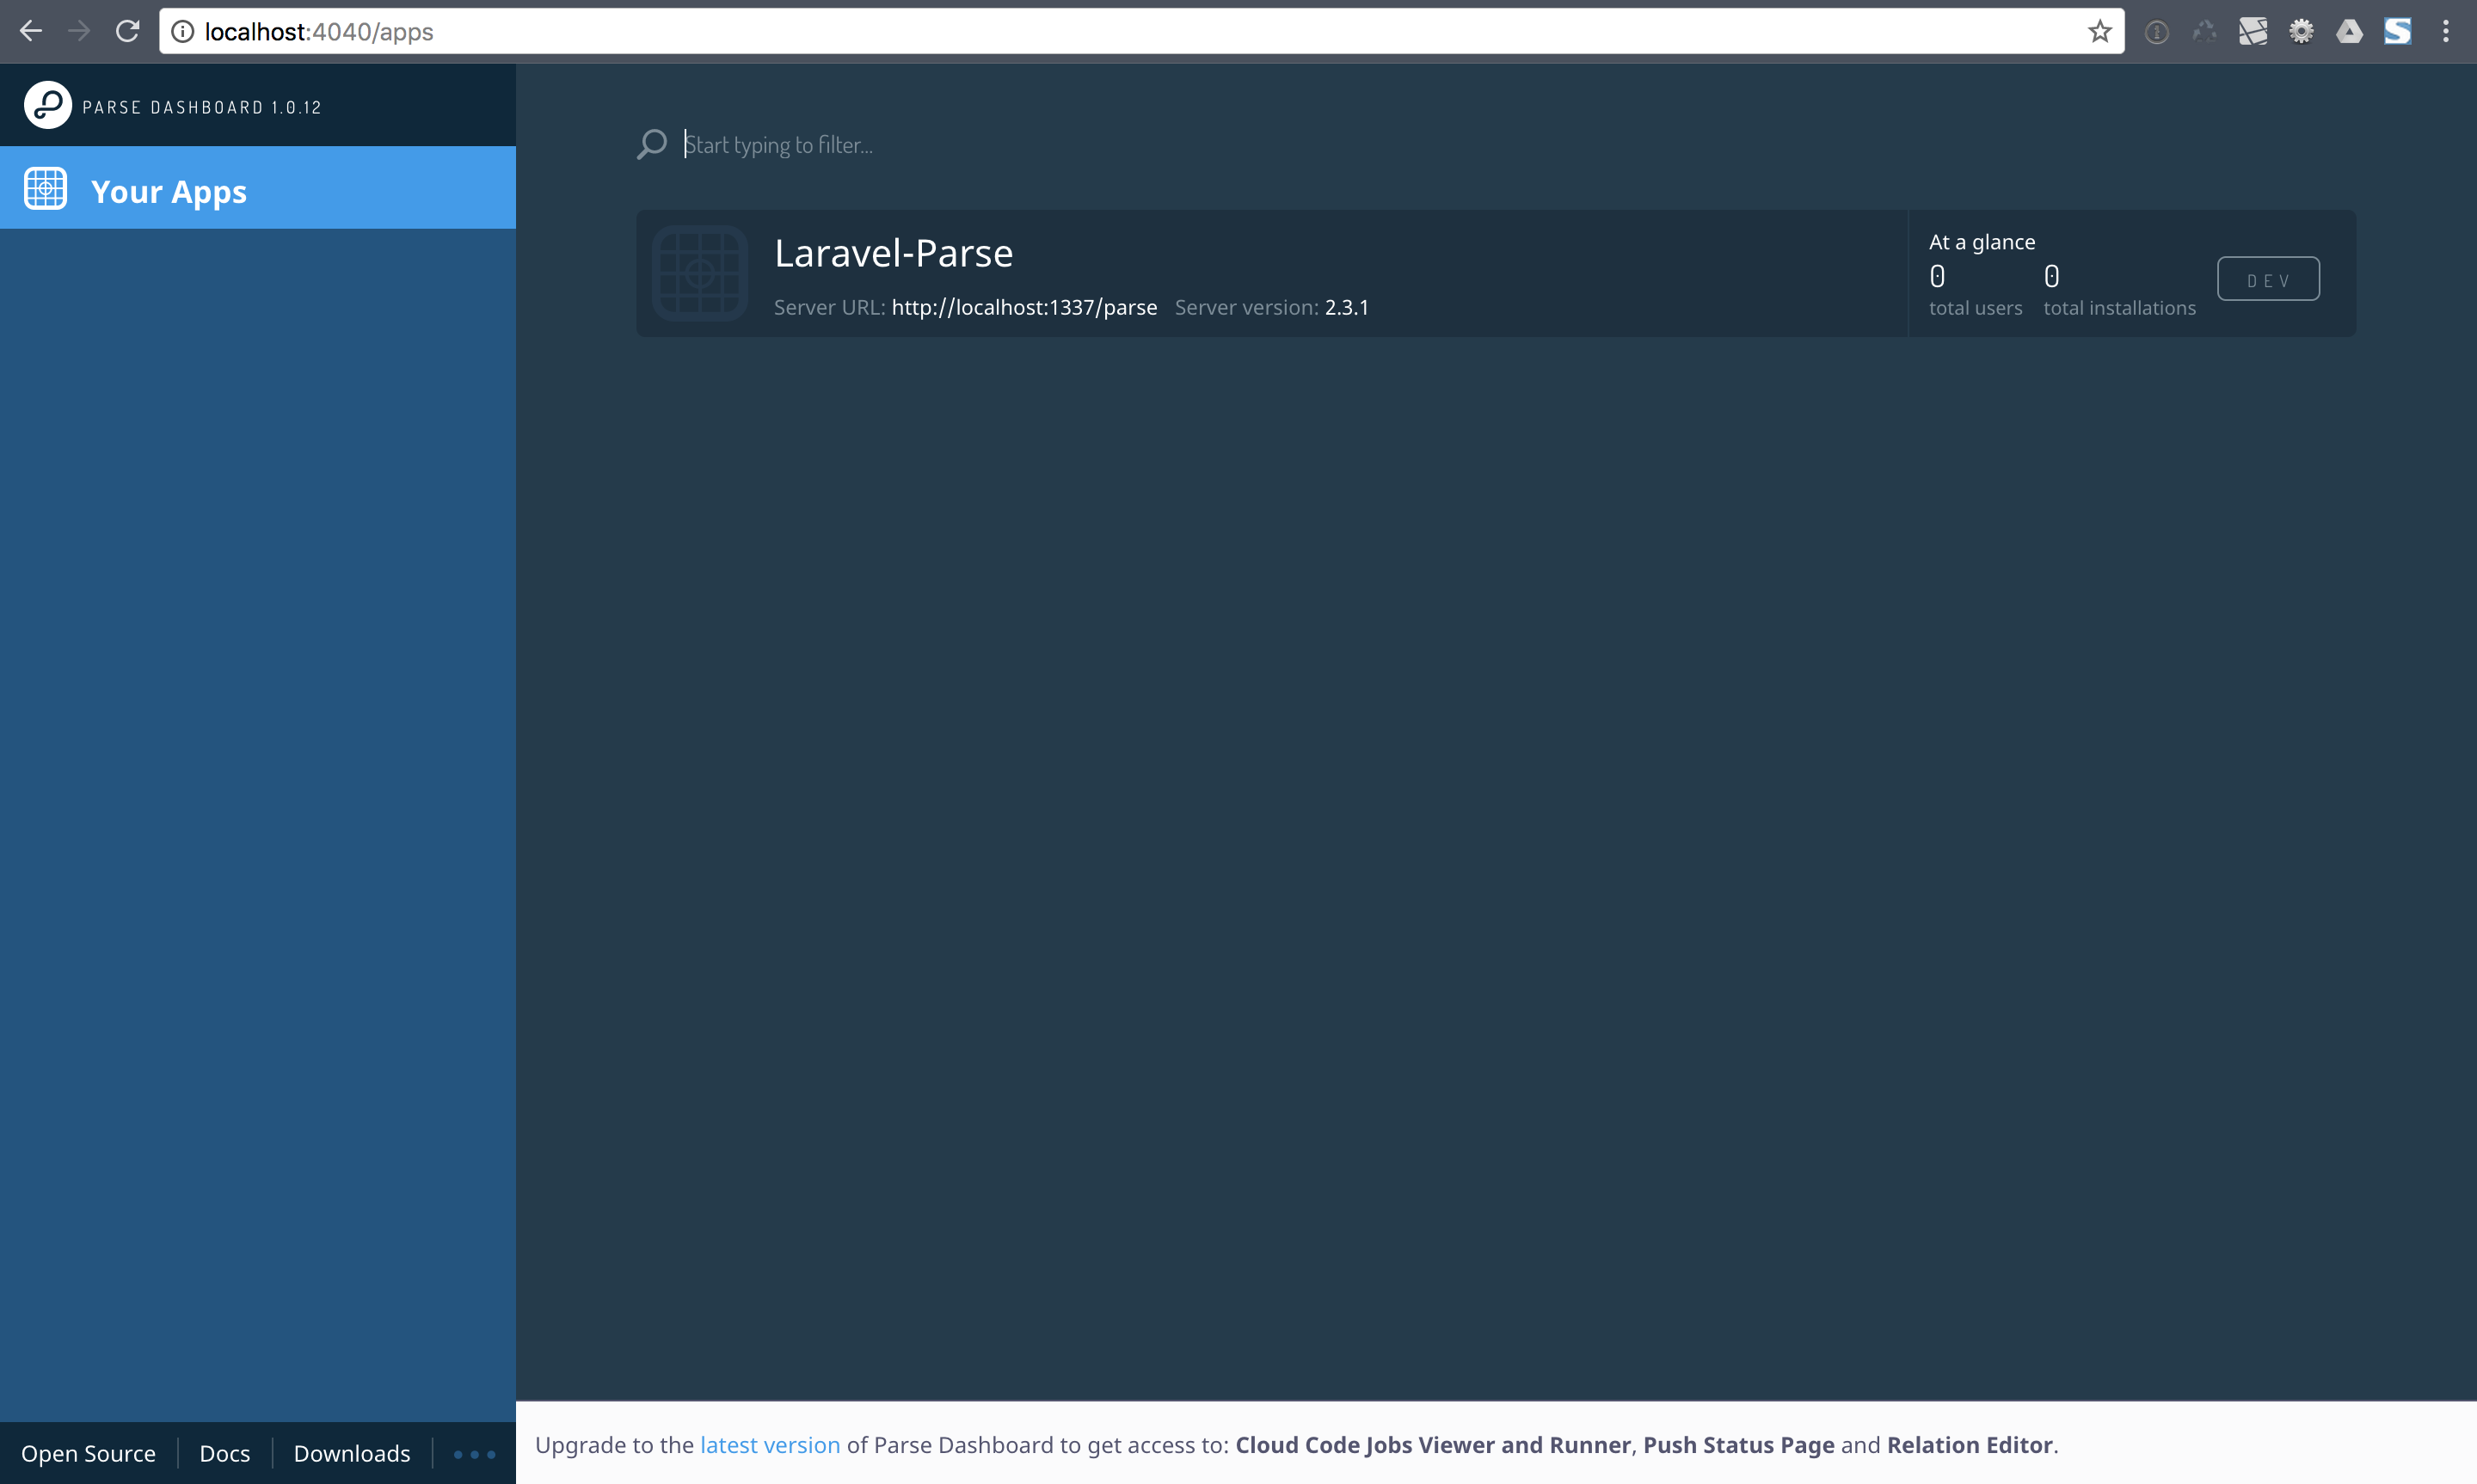
That’s it you now should be able to open your Parse Dashboard: http://localhost:4040.